Entertaining Gameplay Locations

This is a list of some of the "hubs" found in the game, along with directions to them. They're good places to find levels to play.
Some locations have maps, which are linked below the locations' thumbnail image.

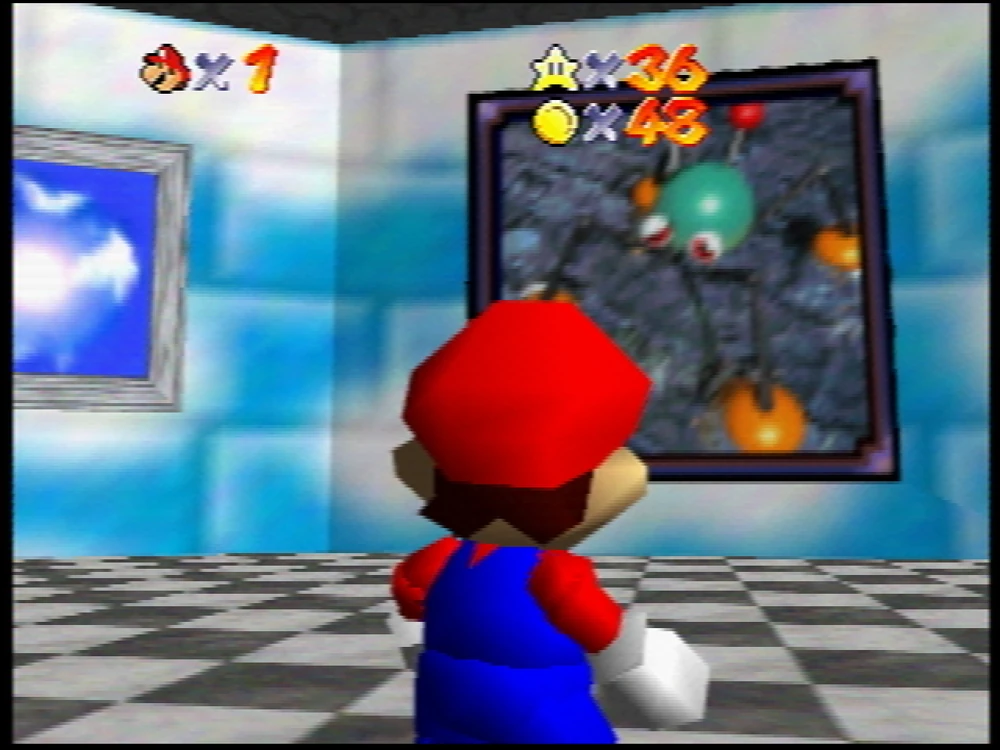
Description: A fancy looking lobby containing 4 levels and a few paths to other hub areas. "Tall, Tall Mountain (beta)" is in the Tall, Tall Mountain painting in the room to the right. "Downtown City" is in the painting depicting an ancient city in the same room. "Salty, Salty Shore" is in the painting through the single wooden door on the left, and "Piranha Plant Garden" is through the single wooden door on the right.
Directions: Begin in Lobby 2. Enter the double doors up top, then go up the ramp and enter the double doors under Bowser's painting. Immediately turn left, and go down the short curved hallway towards another set of double doors, and enter them.
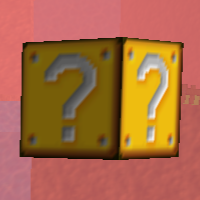
Description: A small hallway with flames on either side containing 4 levels and a jumpscare. "Thwomp's Fortress", "Grim Green Forest", "Cave City", and "Rocky Trek" can each be found in various doors here.
Directions: Begin in Lobby 2. Enter the double doors up top, then go up the ramp and enter the double doors under Bowser's painting. Immediately turn left, and go down the short curved hallway and enter the door on your right with a 1 on it. Punch a box in the mirror to pass through it, and enter the double doors on the other side.
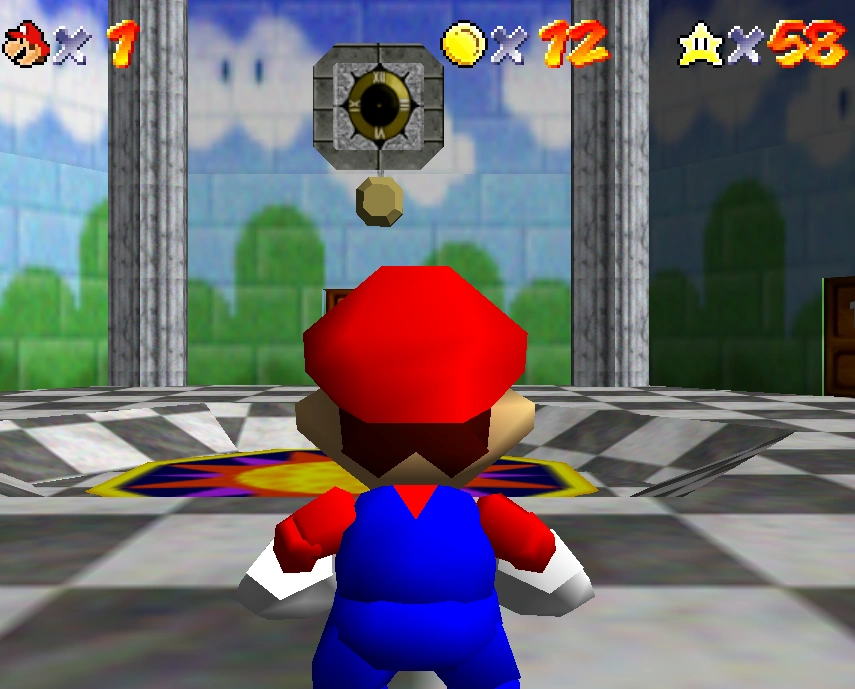
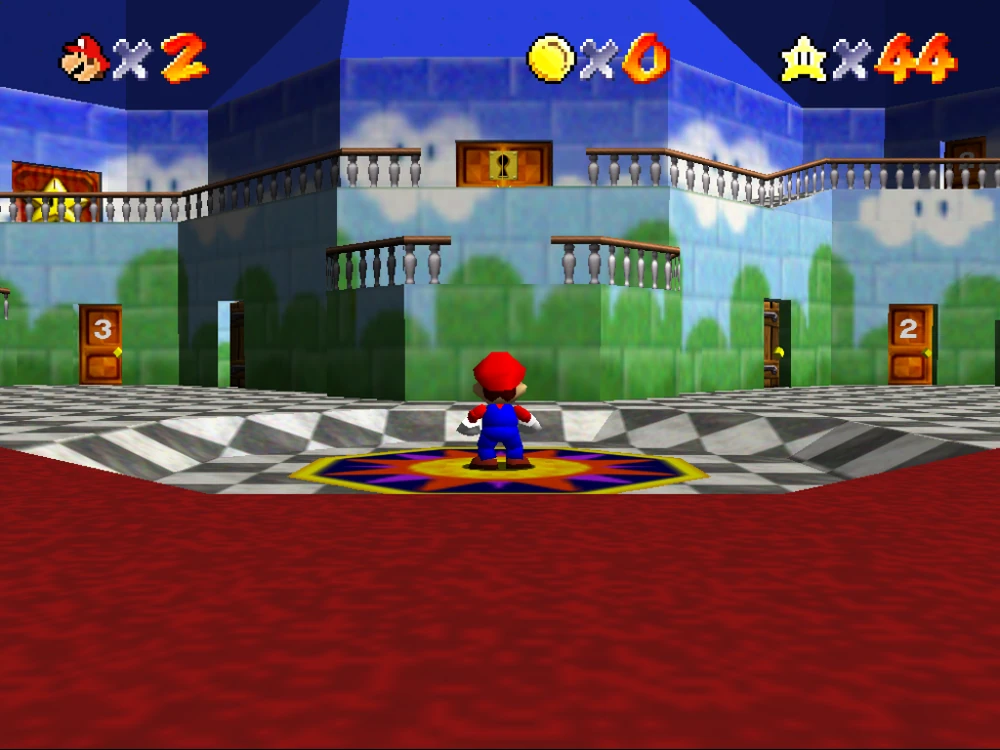
Description: A small lobby containing 2 numbered doors with a level in each. Contains one of the more popular levels, "Moto's Factory" (door 2) and "Tall, Tall Treetops" (door 3). The wing cap can be found here too: If you have 10 or more stars, use C-Up to look up in the lobby to enter "Tower of the Wing Cap (beta)"
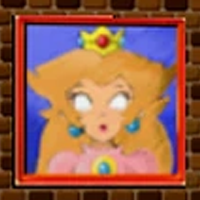
Directions: Follow the previous instructions to get to Royal Lobby. From there, turn immediately left and go up to the small model of the castle, and jump into it. You'll end up in "Vanilla Castle Grounds". From here, enter the metal door in the drained moat, then go through the doors under faceless peach.
Extra Notes: Moto's Factory has 11 stars. There's also a white coin in the level. Go ahead and collect it, see what happens.
Description: A lobby resembling the main lobby from the original Mario 64. There are 6 levels here, along with various paths to other hubs and locations. Use the map to guide yourself to each level.
Directions: From lobby 2, enter one of the two unmarked single doors and enter the door at the end of the hallway. This leads you to "Plexal Lobby". Hop down to the bottom and enter the lower door on the left with the 1 on it, then jump into the pipe.
Extra Notes: This area has a different look at night. Don't get confused! If a yellow toad is in the lobby, you're in the right place.
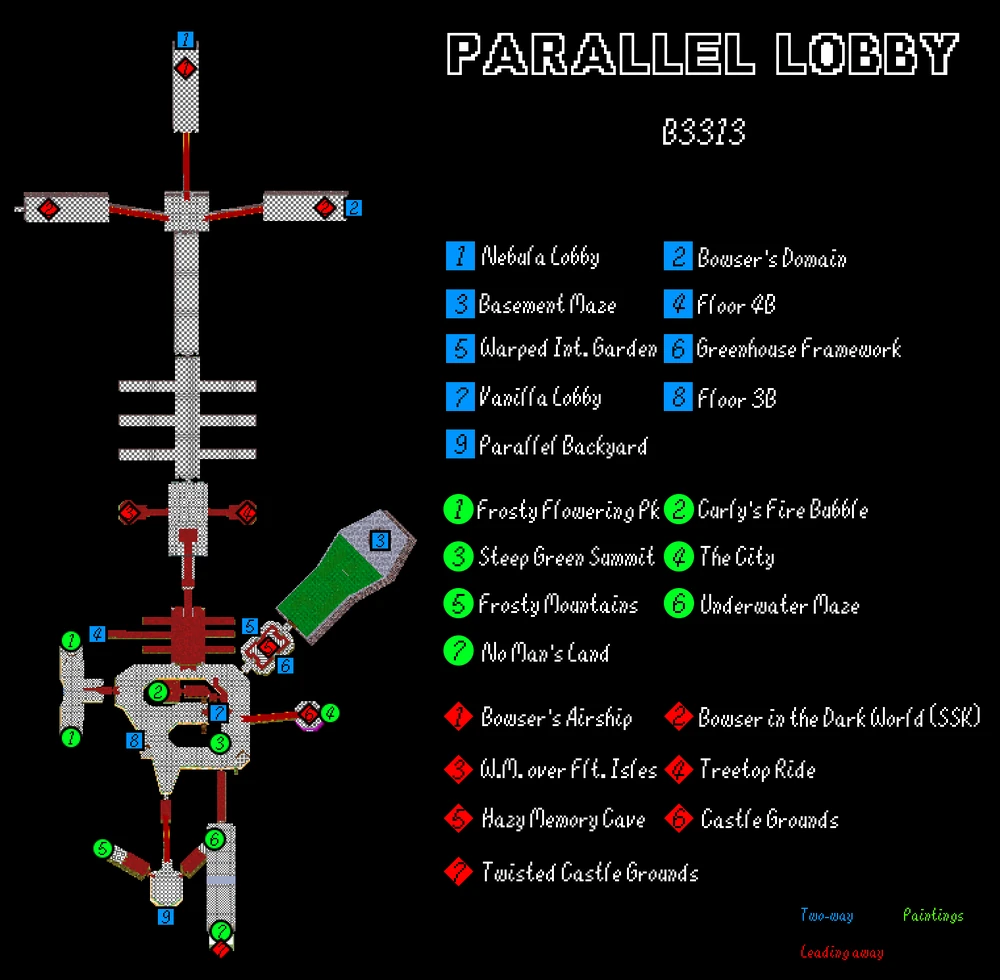
Description: A large lobby with 11 levels spread over 3 "floors". Floor 1 contains "Frosty Mountains" and "Underwater Maze", Floor 2 has "Curly's Fire Bubble", "Frosty Flowering Peak", "No Man's Land", "Steep Green Summit", "The City", and "Hazy Memory Cave". The 3rd floor has "Wing Mario over the Floating Islands", "Treetop Ride", and "Bowser's Airship".
Directions: From Vanilla Lobby, go to where Peach's Slide would usually be, and enter the center stained glass window. Enter the door at the end, but careful not to fall off the path!
Extra Notes: All but 4 of the levels are entered via paintings. Every 3rd floor level, along with "Hazy Memory Cave" on floor 2, are entered via a hole.
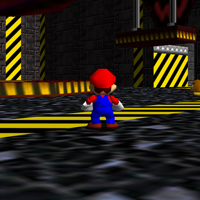
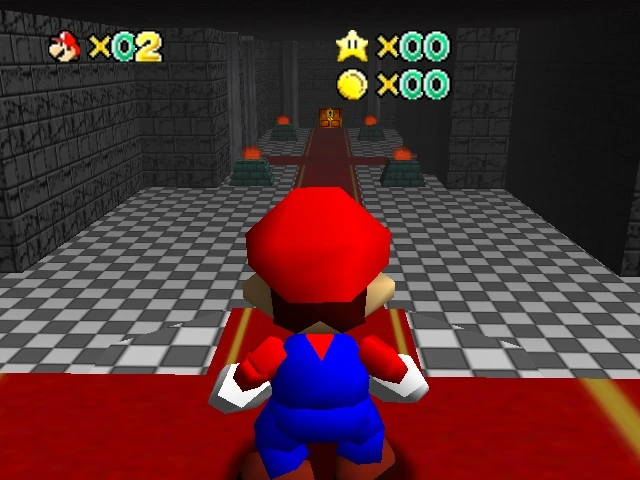
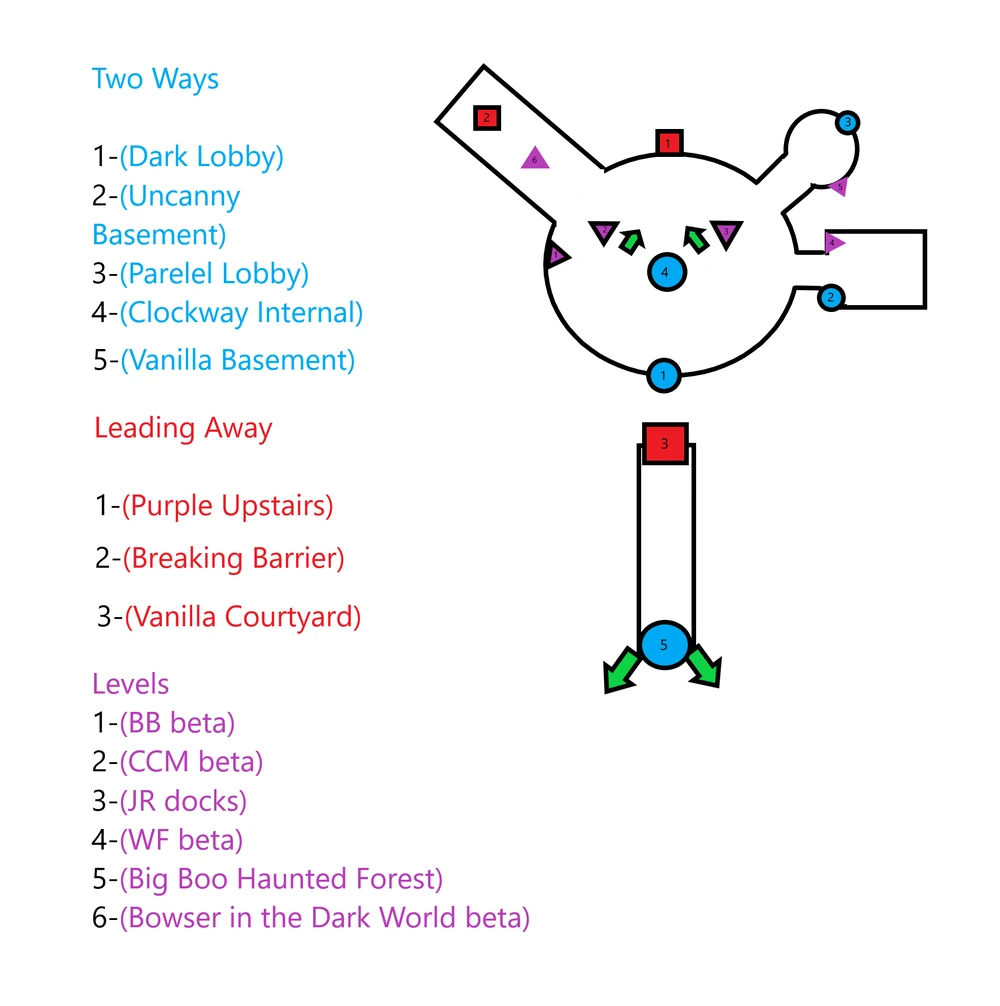
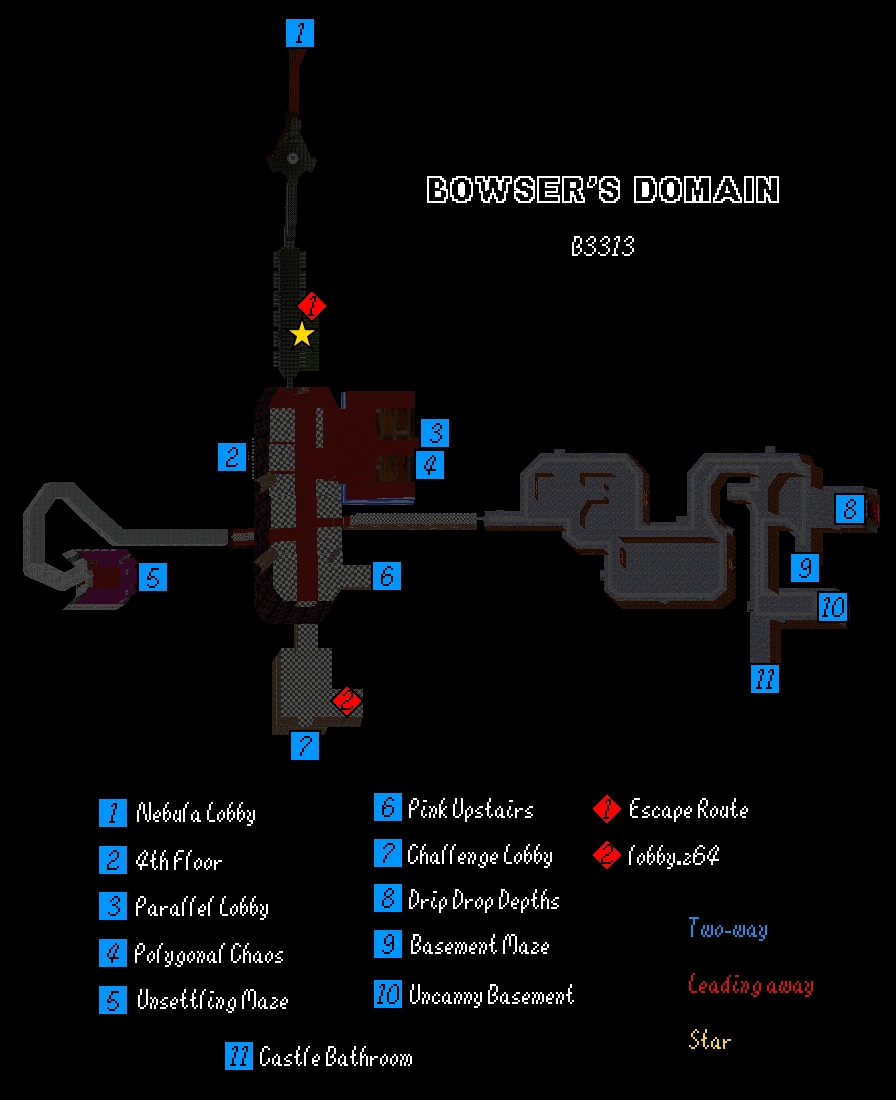
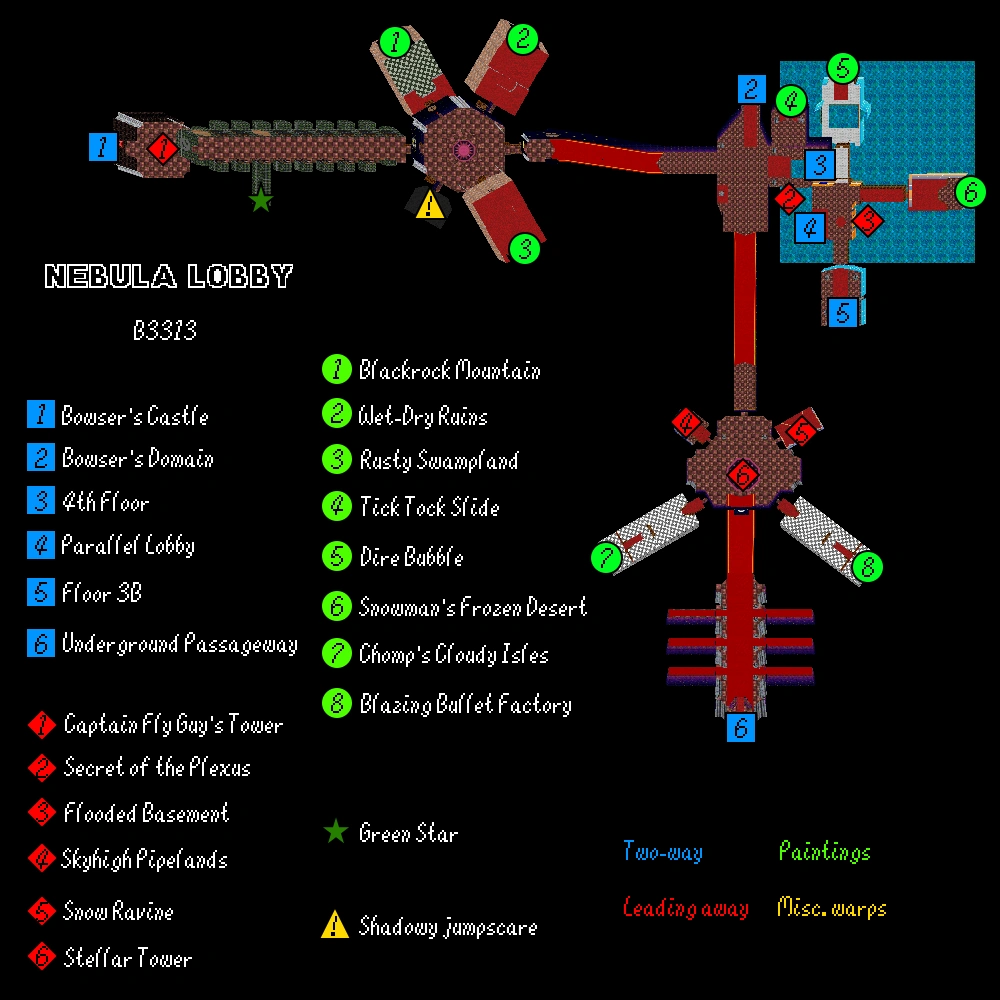
Description: A large dark area containing many convenient paths to other locations and hubs. There is only 1 level directly accessible via this hub, which is "Drip Drop Depths". See the attached map to navigate easily.
Directions: From Parallel Lobby, go forward and right around the hallway until you reach an open area with red carpet to the left. Head straight through and up the steps, and then continue straight up the blue section to the double doors. Continue straight once again through to the next set of double doors, and again through the next set. Once in a room with 3 ramps (one left, one center, one right) go up the ramp on the right and through the door behind the hole.
Extra Notes: There are two one-off paths for stars. Use the map to find them (marked by the 2 red diamonds).
Description: A large lobby with 8 total painting levels along with 3 short puzzle levels (via holes) and a boss fight room. There are also various paths to other areas.
Directions: From lobby 3, enter the upper double doors and then enter the next set of doors, being careful not to fall into the trapdoor floor. Once you see two pipes, enter the one on the left.
Extra Notes: This area can get confusing. Use the map to help. When following the above instructions, you end up at the blue 3 square shown on the map. There's one area that you must go into water and navigate back out the other side.
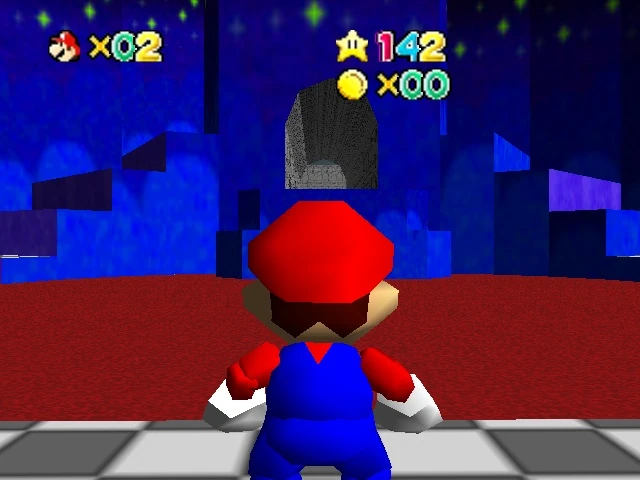
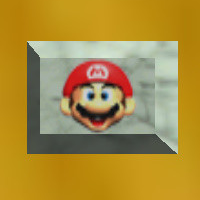
Description: An odd smaller lobby with 8 levels, all of which are entered via various holes throughout the lobby. Most levels here are "beta" and "test" levels.
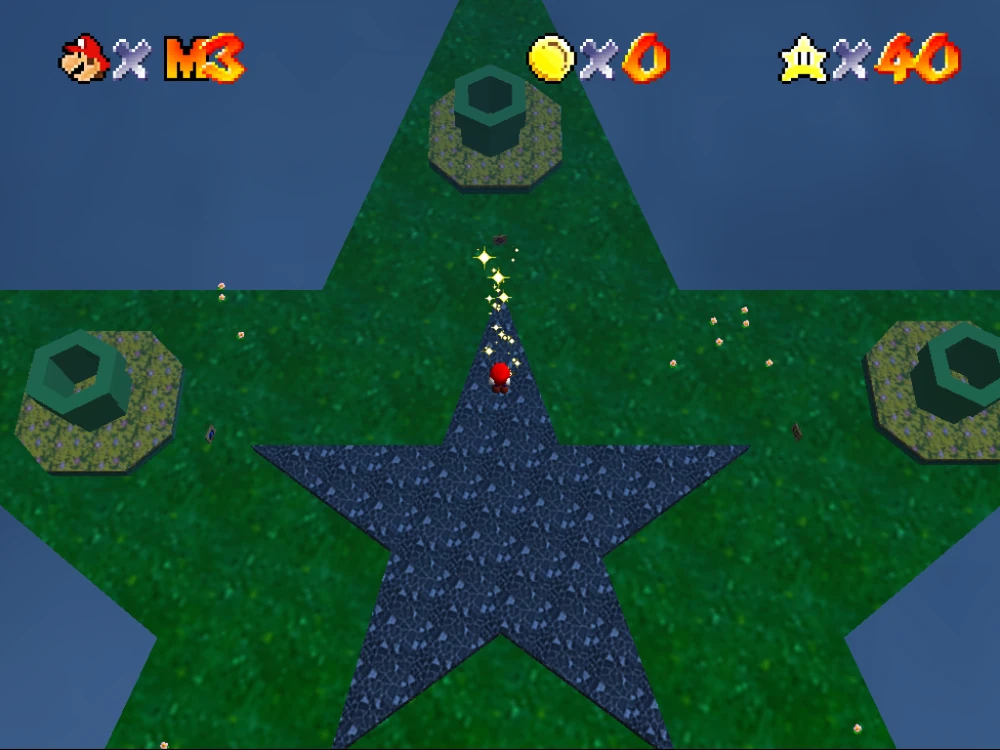
Directions: With at least 10 stars, start in Lobby 1, and use C-Up to look up. You'll be transported to "The Star", a small area with a pipe. Optionally collect the silver stars to get a star here, then enter the pipe.
Extra Notes: The pipe at the end of 3rd Floor leads to 4th Floor.
Description: An inverted version of the vanilla game's upstairs area. It contains 7 levels: "Wet-Dry Paradise", "Forgotten Battlefield", "Whomp's Fortress (beta)", "Jolly Roger Bay (corrupted)", "Snow Tunnels", and "Tiny-Huge Island (beta)".
All levels here are found by jumping into paintings in the main hall, with the exception of Tiny-Huge Island (beta), which is where the original Tiny-Huge Island would be in the vanilla game. "Bowser's Floor", an odd area that could be worth exploring, can be reached via the Bowser painting at the top of the "endless" stairs.
Directions: Enter the door at the back of the Castle Grounds, behind the golden Toad statue, to reach Toad's Lobby. Immediately turn left and enter the pipe, then turn right and head down the very short ramp into the door to reach "Pink Upstairs". Head straight ahead through the single door under the Peach painting, then straight ahead in a little alcove is an orangeish sky painting. Enter it.
Extras: "Jolly Roger Bay (corrupted)" and "Forgotten Battlefield" have no stars. A faceless toad in Mirrored Upstairs has a free star. Don't judge his appearance, he has a condition.

Description: A jarring and confusing area full of corrupted-looking polygons and a bewildering layout. You will get lost. The area contains multiple pathways to other hub areas of the game, as well as 2 levels: "SGI Indy" and "Shadow Forest".
Directions: Head to "Pink Upstairs" using most of the above directions for "Mirrored Upstairs". Once in the main pink upstairs area, find the downward-ramp where the entrance door to Tiny-Huge Island would usually be in the base game. Enter the double doors, and climb the "endless" staircase to reach the double doors and enter them.
Extras: Seriously, you will get lost. It's a fun kind of lost though!
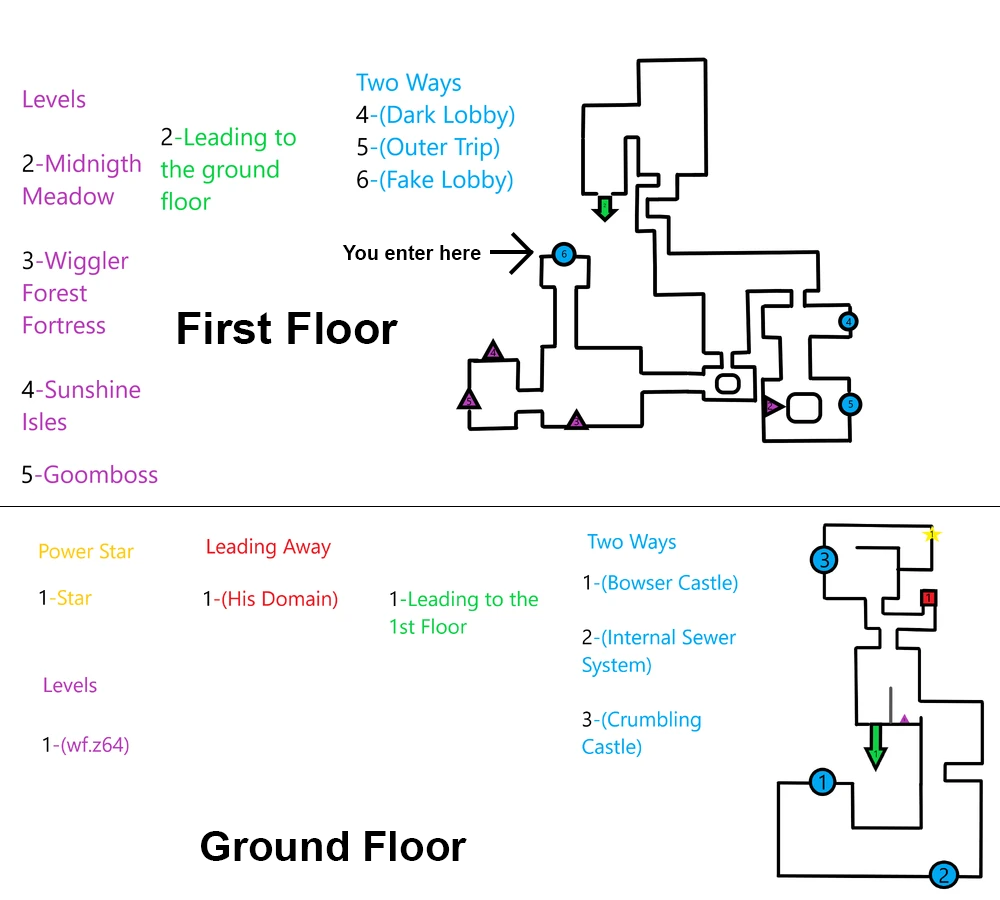
Description: An extremely large and somewhat confusing area. It contains 5 levels: "Midnight Meadow", "Sunshine Isles", "Goomboss Batle", "wf.z64", and "Wiggler's Forest Fortress".
Directions: This path is a long, but easy, straight path with no turns. Start in Crescent, and head straight through the center double doors. Continue through another set, and then straight back through the next set of double doors. Continue forward until you see a blurry blue/white sun painting at the end of the hallway. There's a hidden double door behind it, so walk through. You'll end up in "Fake Lobby", which looks like regular vanilla lobby. Head up and go through the double doors up top.
Extras: This area is hard to navigate. Even with the provided map, it can get confusing. When you first get to the area, you enter at the blue 6 on the first floor map. The single door straight ahead with a 1 on it leads to Wiggler's Forest Fortress, and the double doors to the right lead to 2 other levels. The two rounded squares on the first floor map are pools of water connected to each other, and is the easiest path to get to Midnight Meadow.
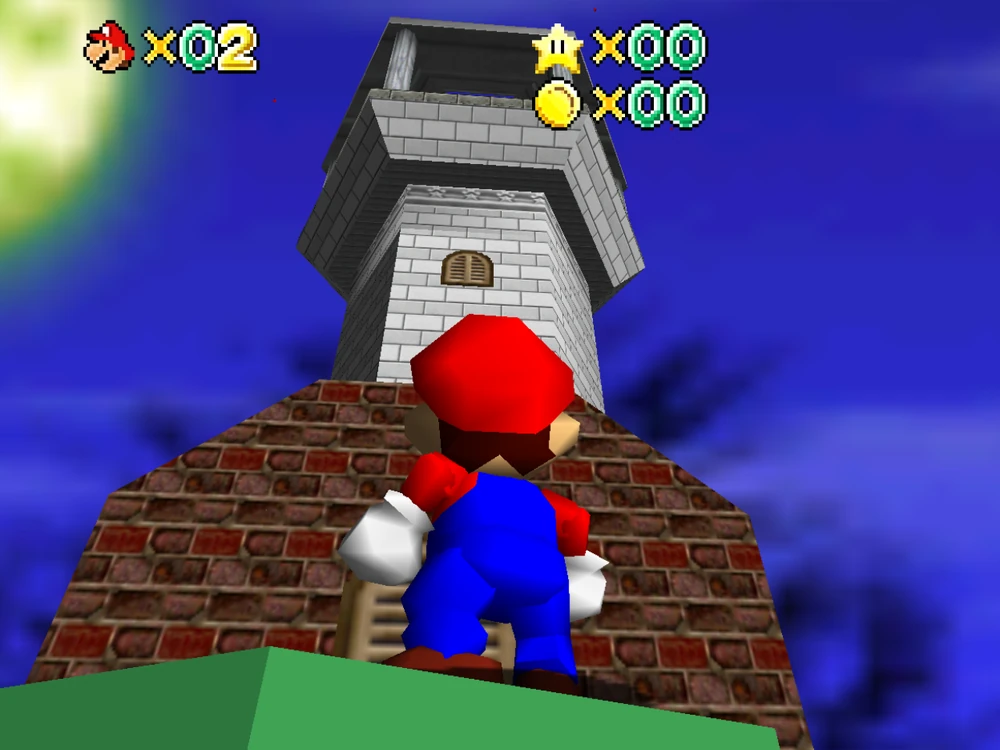
Description: A tall tower with a rising elevator platform in the center. The tower contains 3 levels: "Bob-omb Grassyfield", found in the pipe on the first floor, "Mountainside Village", in the pipe on floor 2, and "Misty Beach", via the pipe on floor 4.
Directions: Enter the door at the back of the Castle Grounds behind the Toad statue to reach Toad's Lobby. Immediately turn right and enter the pipe.
Extras: A pipe on the third floor will take you to Royal Lobby. The doors at the top floor across from Misty Beach leads outside, where you can use the wing cap to gather 8 red coins for a star.
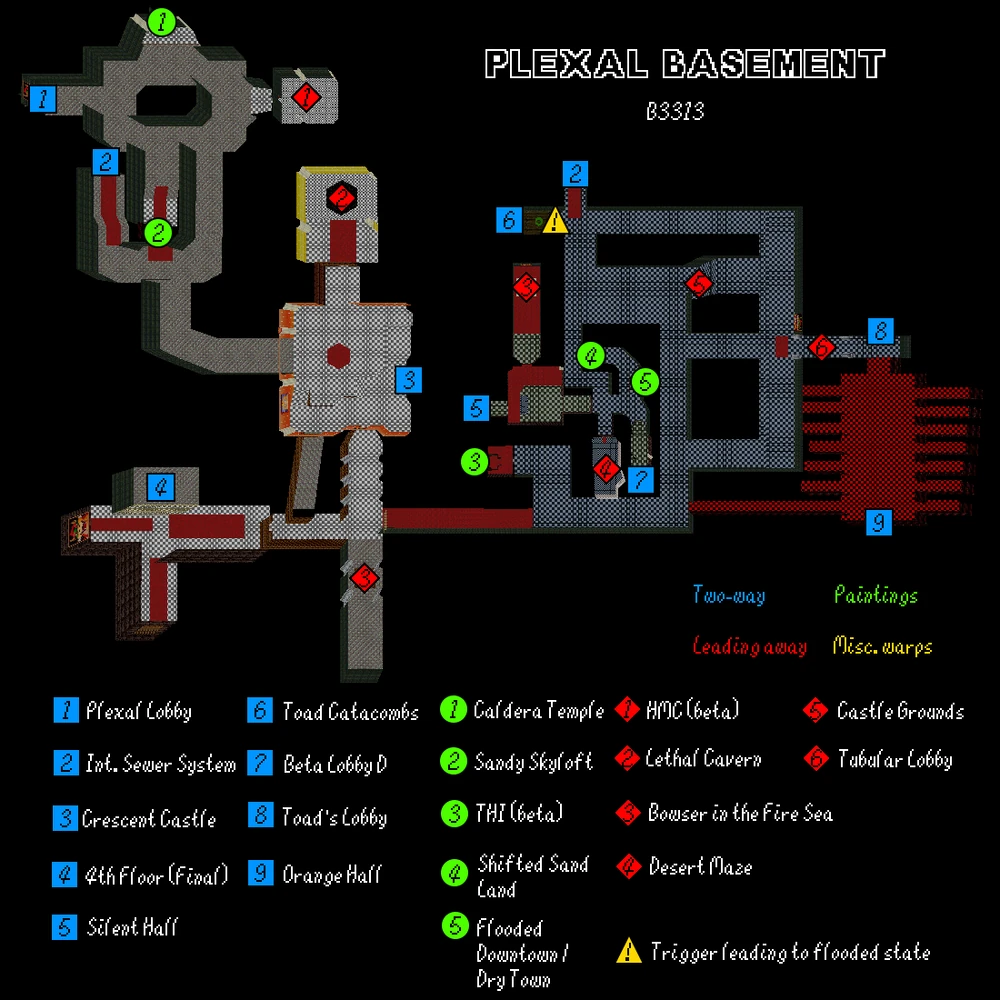
Description: The "basement" area of the Plexal lobbies. The area features the classic castle basement texture but is a sort of complex labyrinth. The area features 6 levels: "Flooded Downtown", "Dry Town", "Sandy Skyloft", "Shifted Sand Land", "Tiny-Huge Island (beta)", and "Caldera Temple".
Directions: Begin in lobby 3, then enter the left door usually associated with Bob-omb Battlefield. It will lead to an identical-looking lobby. From there, go through one of the two lower single doors to enter the basement.
Extras: This can be another confusing lobby. Use the provided map to guide you. Note the Tiny-Huge Island (beta) level found here is the same as the one in Mirrored Upstairs. Going near a pipe in this area floods the lobby, but if you can make it to a few select paintings you'll live.
Warning: This area is considered "endgame". If you want to progress through the game and story normally, don't go here yet.
Description: An area very similar to "Star" but with actual locations. This area has 5 levels, one in each pipe.
Directions: You'll need the vanish cap, at least 1 red star, and at least 1 extra life (01 on the life meter) for this path. The route here is complicated.
First, start the game in "ACT 1" by sitting on mario's stretchy face when starting the game until you hear him say "no no no no no no!" then pressing start and loading the file.
Begin in Lobby 2 and head through one of the single blank doors, then head to the back through the next door to get to Plexal Lobby. Jump down and turn around to head through the double doors. In the next room, keep straight to head through another set of double doors. Grab the vanish cap to the right, then head through the middle double doors. Go through the glass, then kill the boo to drop the warp, and head into that. You'll now be in "Crimson Hallway".
Next, you'll need to die. The easiest way to do this is to enter the double doors, then down the hallway through another double doors to find a boo that can kill you. Note that both of these last sets of double doors only open when you use the door on the right. The camera in this area also sucks, so use Mario cam if it helps. This should now take you to "Dark Monochrome Castle".
From here, enter the left door at the front of the castle (the right door is locked). This leads to "Monochrome Lobby". Head up through the center double doors, and follow the path through many doors until you reach a pipe, and enter it. You'll now be in "World of Dreams".
If you have enough lives, you can jump off the level anywhere here to continue. If not, head forward up the makeshift steps into the room and through the 1 door. Jump across the platforms to reach the pipe in front of Peach's picture and enter it, which leads to "Star Road".
Extra Notes: Most of these levels are on the more difficult side. The level in pipe 1 is easiest, though, and quite fun.
Most of the content in this guide was created based on information found on the official B3313 wiki. Thanks to everyone that contributed to the wiki!

©2026 Jman100. All Rights Reserved.
 View Map
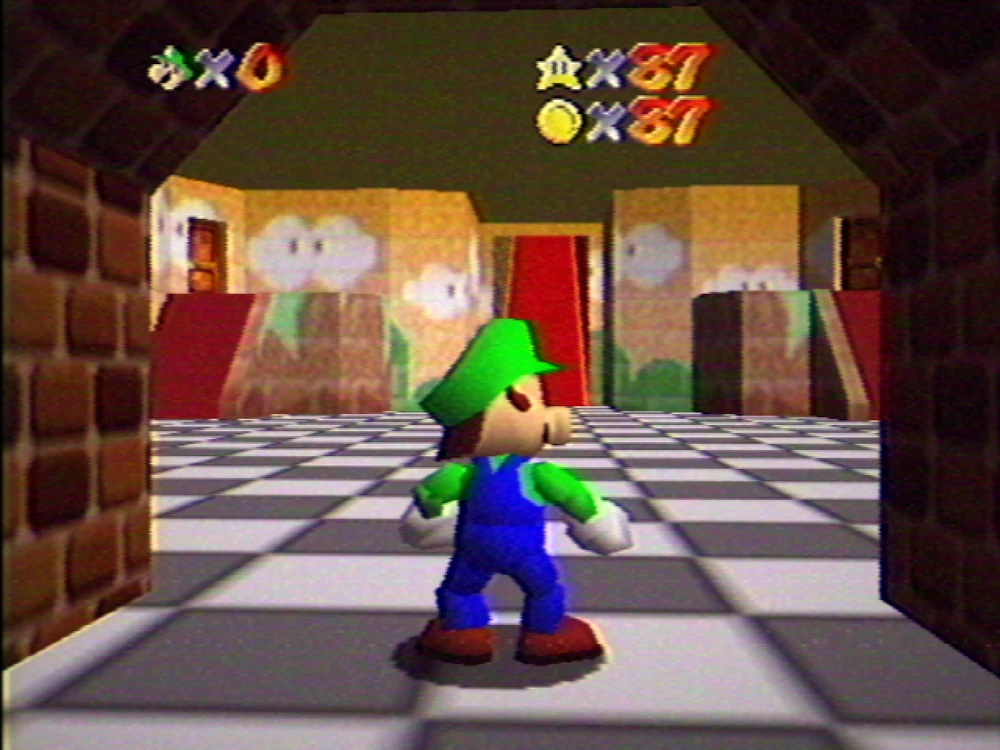
 View Map
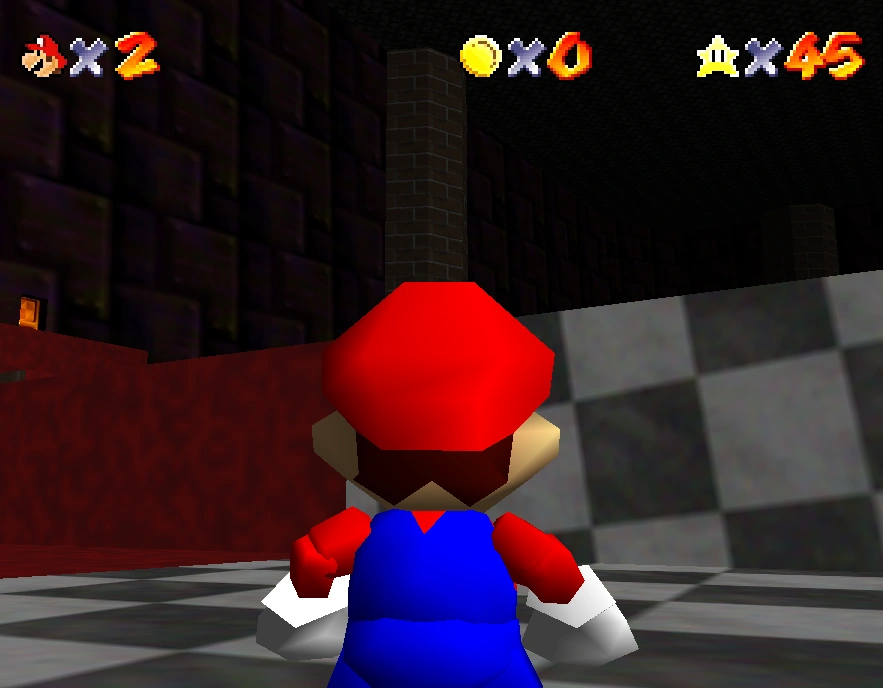
 View Map
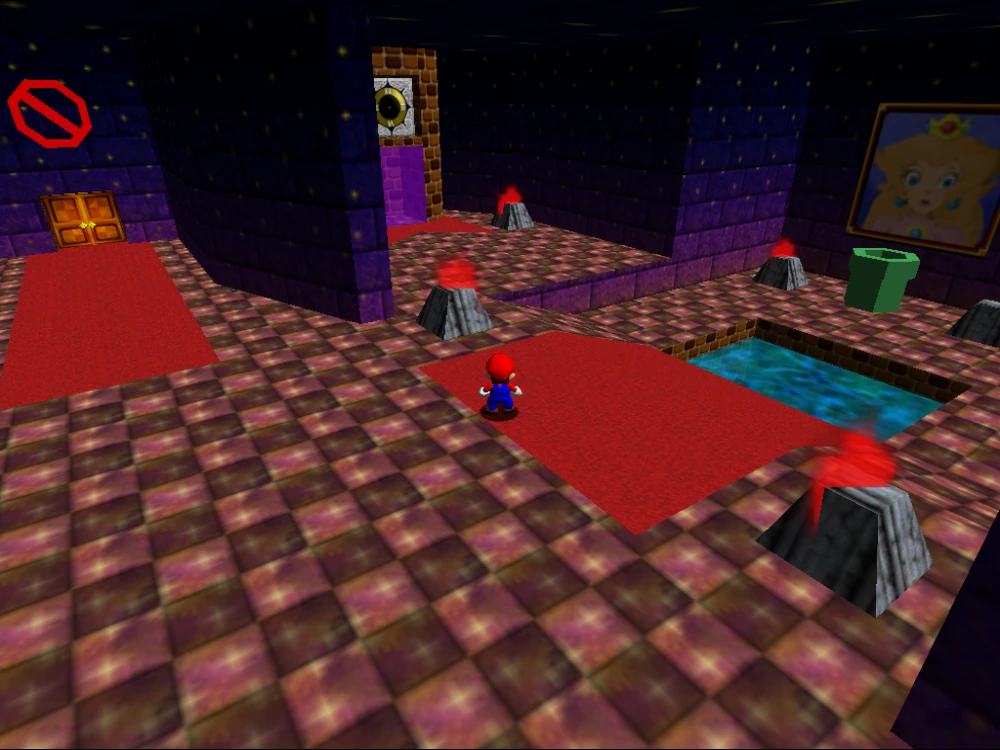
 View Map
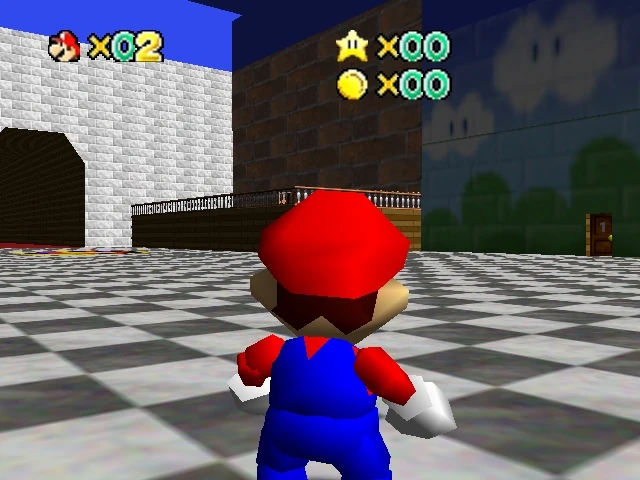
 View Map
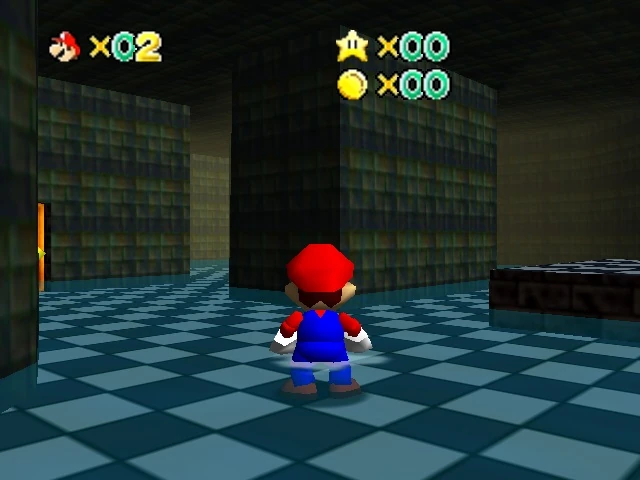
 View Map